Creating a windowsill herb garden has never been easier, and creating a green, edible display doesn’t have to break the bank!
I feel like there is nothing more decadent than cooking with fresh herbs straight from your kitchen. As a bonus, you’ve got the satisfaction of growing your ingredients entirely by hand – and after the initial setting up, you can save money throughout the year and avoid buying from the supermarket and watching everything wilt in your fridge.
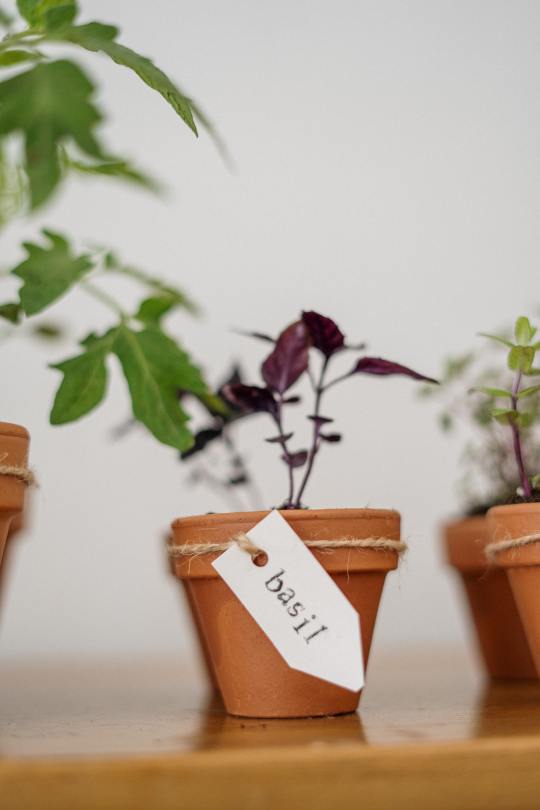
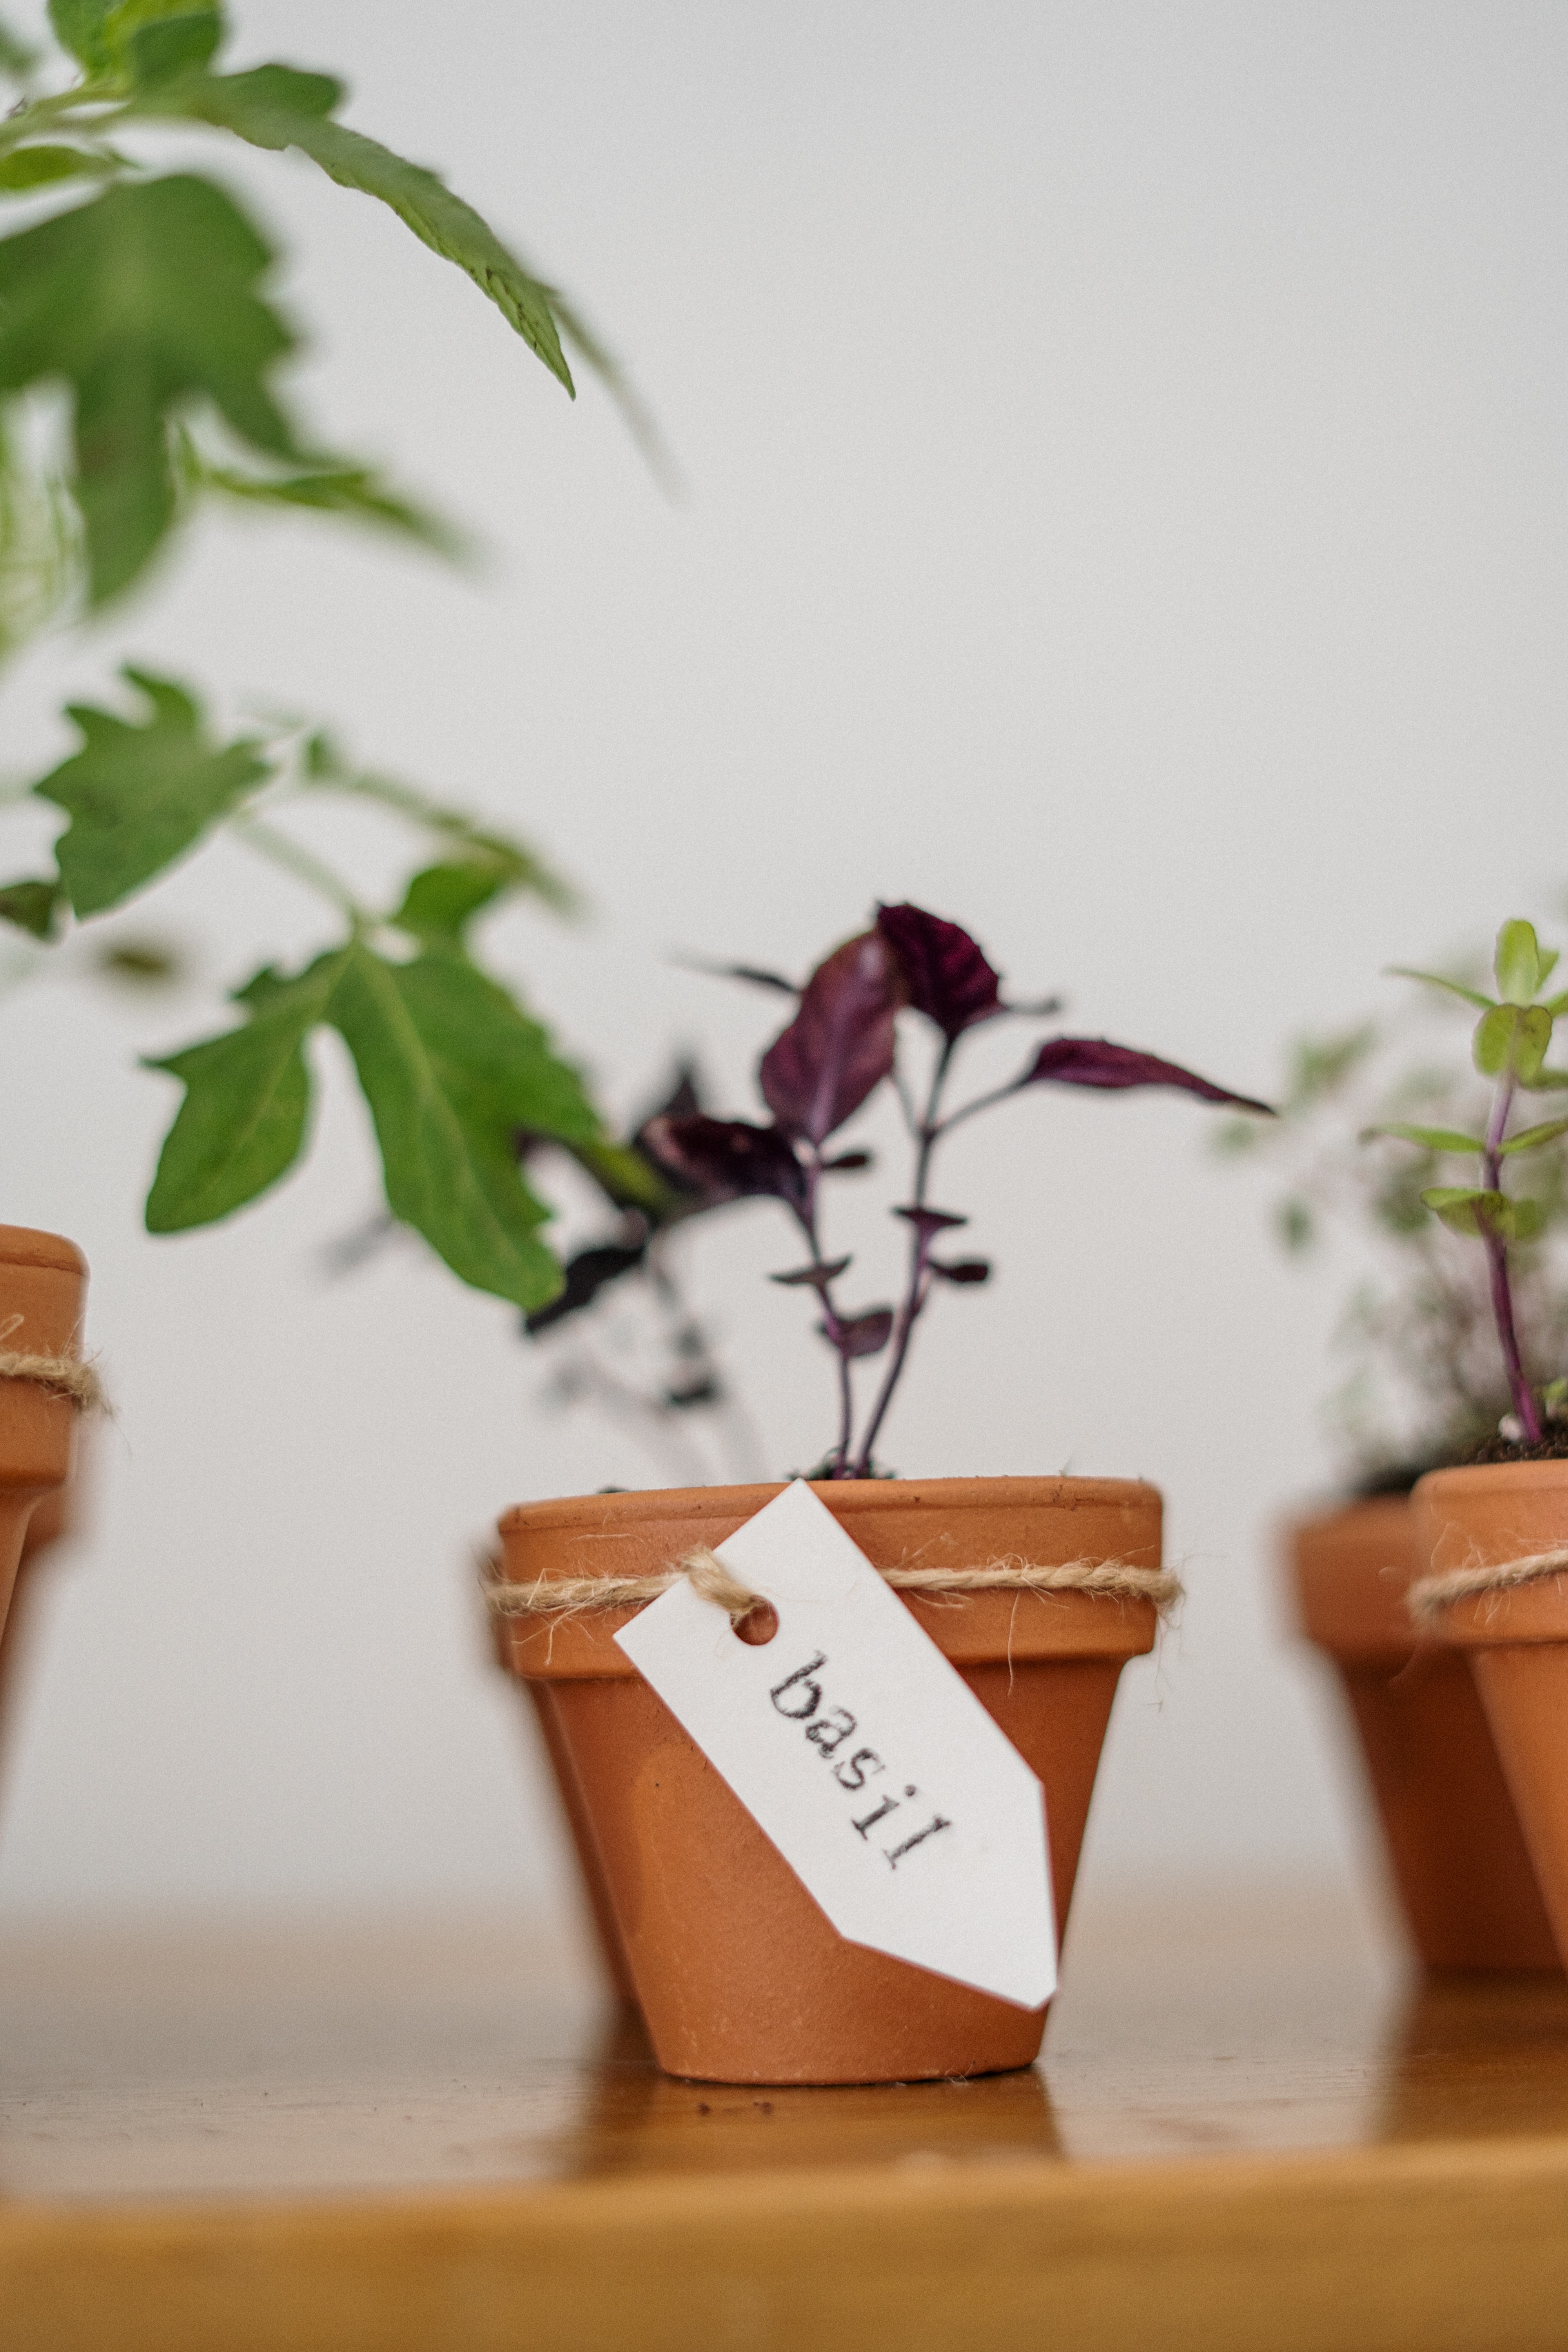 Choosing your pots
You can choose one of two different ways to grow your herbs. For beginners, the best way to go would be a single pot for each herb. If you prefer the look, however, you can plant multiple herbs in a trough type planter.
By planting multiple plants in a trough, you need to make sure that your herbs are ones that work well together. Good options include chives, oregano, and basil. It would also be well to remember that different seed/herbs will grow at different rates, so having multiple seed varieties in the trough could make things difficult further down the line.
For simplicity, I like to sow each herb in a single pot. If everything is separate, it’s a lot easier to make sure each plant is getting what it needs to thrive. You’ll also be able to swap out
plants as and when you need!
As a general reference, you’ll need to choose pots or a trough that allow for around 4 square inches for each herb, and a depth of around 6 inches.
![]()
What soil is best?
You can pick up appropriate, good quality indoor potting compost from almost any local garden centre.
It’s recommended not to use regular soil from your garden. It will be too heavy and will compact the roots of your herbs. Garden soil and your home composting may also may introduce pests and diseases into your home
For best results, choose a compost that is sterile and well-drained, and without too many nutrients. While herbs will grow better with a nutrient rich soil, too much will weaken the flavours.
Although, herbs are hungry plants and you may find yourself needing to fertilise your soil every so often – a little once a month should be fine, and an all-purpose liquid/organic fertiliser that has a higher nitrogen content is best.
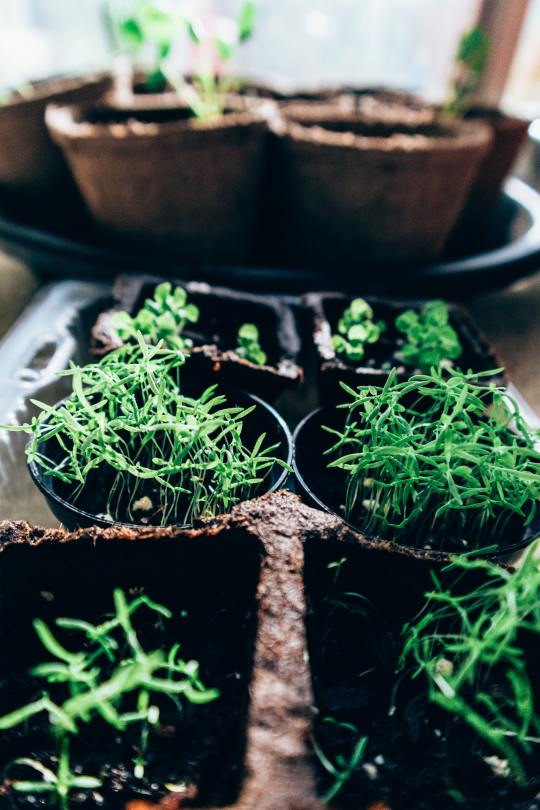
Planting and sowing
You’ve got your pots. You’ve chosen your herbs. Time to get your garden started!
Fill your pot up with soil, leaving around half an inch from the top free and I like to water in advance. Because many seeds are quite small, it’s all too easy to wash them out of place or too deep into the soil. It may also make it harder to water adequately down the line, and you could easily drown any germination that may have started.
Water thoroughly, and leave to soak for 5 minutes or so to make sure the soil is damp all the way through. At this point you may find that the soil has depressed further into the pot, so fill it back up to where it was.
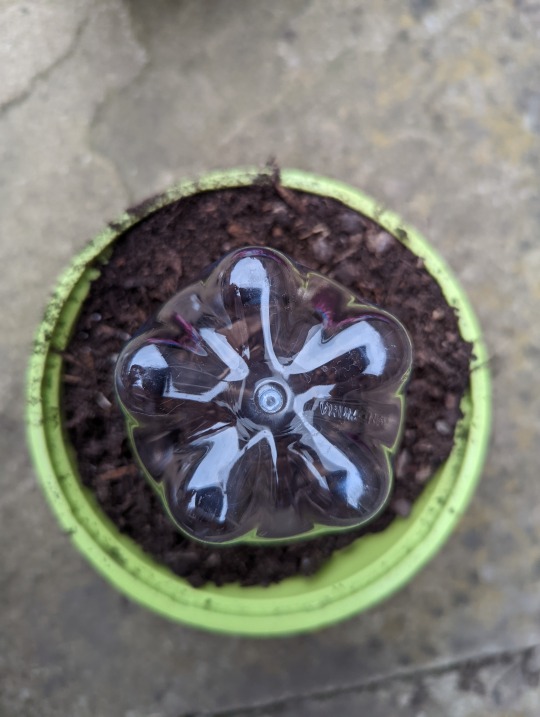
Place your herb seeds sparingly into the soil. Depending on your pot size, it’s likely you won’t need more than 5 seeds per pot. .
I like to plant more seeds than necessary to increase chances of germination – you can always thin the seedlings out later if your pot is too crowded.
Once sown, lightly cover your seeds. Look at the back of your seed packet for guidance on the correct depth to cover to; you can usually cover the seed at twice it’s thickness with your compost.
You’ve already watered your soil through, but the fresh compost you placed afterwards may still be dry. It’s enough to use a spray bottle to moisten the top layer once or twice a day until the seed germinates and pops up through the soil.
The most common mistake at this point is to over water and cause your seedlings to ‘dampen off’. Since the depth of your soil should still be moist, the roots of the new seedling will ‘seek out’ more moisture and grow down, and you can get away with a light spritz every day until the plant is fairly established.
I use a heat mat to speed germination, but this isn’t necessary if you’re more patient than I am! Cover your seedlings with a propagator lid to lock in the humidity until the seedlings sprout. If you don’t have a propagator lid, covering with clingfilm should do the trick. You can also use a plastic bottle with the bottom cut off if you’d like to give a new lease of life to your recycling!